| readme | ||
| templates | ||
| .DS_Store | ||
| camera.py | ||
| LICENSE | ||
| main.py | ||
| README.md | ||
Make you own Raspberry Pi Camera Stream
Create your own live stream from a Raspberry Pi using the Pi camera module. Build your own applications from here.
How it works
The Pi streams the output of the camera module over the web via Flask. Devices connected to the same network would be able to access the camera stream via
<raspberry_pi_ip:5000>
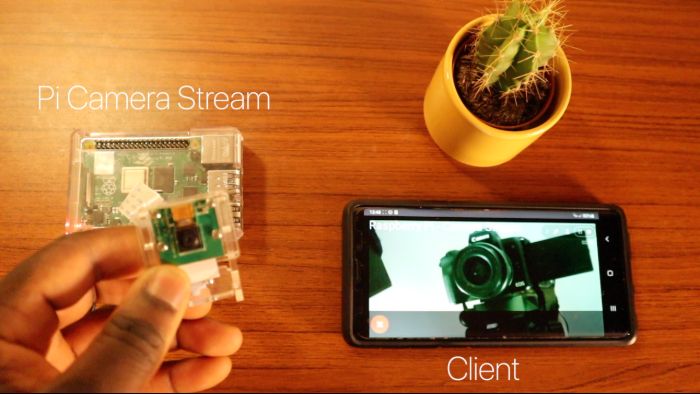
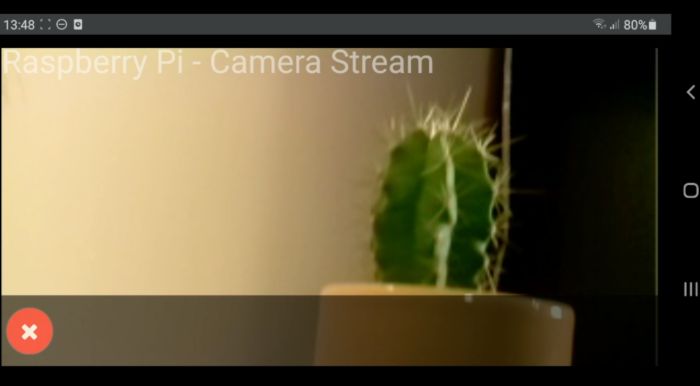
Screenshots
 |
 |
|---|---|
| Pi Setup | Pi - Live Stream |
Preconditions
- Raspberry Pi 4, 2GB is recommended for optimal performance. However you can use a Pi 3 or older, you may see a increase in latency.
- Raspberry Pi 4 Camera Module or Pi HQ Camera Module (Newer version)
- Python 3 recommended.
Library dependencies
Install the following dependencies to create camera stream.
sudo apt-get install libatlas-base-dev
sudo apt-get install libjasper-dev
sudo apt-get install libqtgui4
sudo apt-get install libqt4-test
sudo apt-get install libhdf5-dev

sudo pip3 install flask
sudo pip3 install numpy
sudo pip3 install opencv-contrib-python
sudo pip3 install imutils
sudo pip3 install opencv-python
pip3 install opencv-python
Step 1 – Cloning Raspberry Pi Camera Stream
Open up terminal and clone the Camera Stream repo:
cd /home/pi
git clone https://github.com/EbenKouao/pi-camera-stream-flask.git
Step 2 – Launch Web Stream
Note: Creating an Autostart of the main.py script is recommended to keep the stream running on bootup.
sudo python3 /home/pi/pi-camera-stream-flask/main.py
Step 3 – Autostart your Pi Stream
Optional: A good idea is running your Pi Camera stream at Pi boot up. This removes the need to re-run the script every time you want to create the stream. You can do this by going adding the boot up code the .bashrc file.
Via the Desktop GUI - right click in your /home/pi/ directory -> show hidden -> open .bashrc and add the code. Or alternatively access via terminal:
sudo nano /home/pi/.bashrc
Go the end of the and add the following (from above):
sudo python3 /home/pi/pi-camera-stream-flask/main.py
This would cause the following terminal command to auto-start upon Raspberry Pi boot up.
Download Beta image of Raspberry Pi Camera Stream
Any troubles installing, try out the already compiled Raspberry Pi (Raspbian OS) Image of Raspberry Pi Camera Stream.
